How to Write in Cursive for Beginners: Easy Step-by-Step Guide
Learn a comfortable rhythm, useful basic strokes, and simple connections for your first handwritten words.
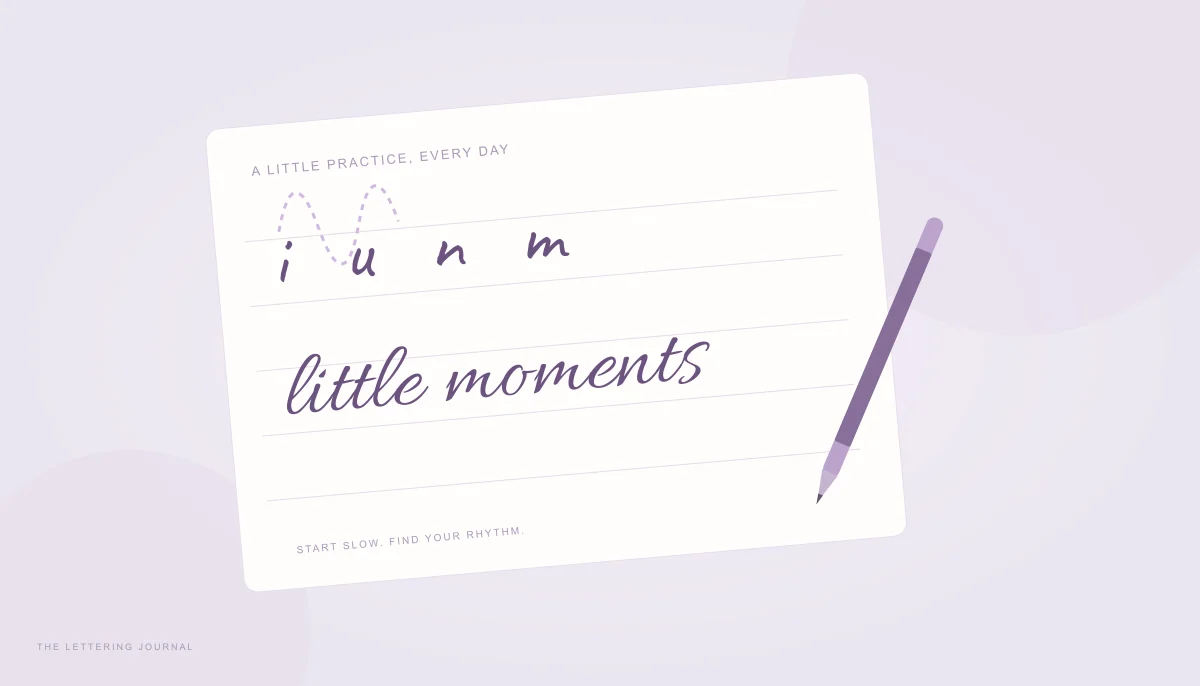
Learning how to write in cursive is easier when you treat it as a series of comfortable movements rather than a test of beautiful handwriting. Begin with a few strokes, repeat them slowly, and connect only the letters you can already recognize. Speed can come later. Your first useful goal is a short word that stays readable from beginning to end.
This guide describes a simple looped cursive style. Schools and handwriting systems use different capital shapes and joining rules, so follow your teacher’s model when you have one. The homepage generator can help you compare finished letterforms, but its fonts are design references, not animated stroke-order lessons.
Cursive Writing for Beginners & Basic Cursive Strokes
Set a sheet of lined paper at a comfortable angle and rest your forearm on the table. Hold the pen lightly enough that you can move without squeezing. A basic ballpoint or pencil is sufficient; a brush pen adds pressure control before you need it. If you are left-handed, adjust the paper and hand position so you can see the line without dragging your hand through fresh ink.
Use the baseline for the bottom of small letters and another line for their height. Add a taller guide for letters such as l and h. A descender guide below the baseline helps with g, j, and y. Consistent height gives easy cursive handwriting more clarity than elaborate decoration does.
How to Start Writing Cursive Letters
Practice a shallow rising entrance stroke, a smooth downward stroke, an undercurve, and an oval. For the entrance, start near the baseline and travel up and right toward the small-letter guide. Return gently to the baseline for the downstroke. Round the turn instead of creating a sharp corner. Keep your wrist comfortable and let the movement stay small.
A lowercase i combines a rising entrance, a short downward movement, and an exit toward the next letter. Add its dot after finishing the word. Lowercase u repeats a similar undercurve. Write a row of i shapes, then a row of u shapes, and compare their height and width. Avoid pressing harder to make a line look more confident; steady direction matters more than force.
For an oval letter such as a, begin near the small-letter guide, curve left and down, round the bottom, and close the oval near its starting point. Add the short right-side downstroke and exit. The closure should be visible without squeezing the oval shut. This introduces a different movement from the undercurve family, so practice it separately before alternating a and i.
Write only a few repetitions before pausing. Circle one shape you like and identify what worked: an open oval, a relaxed turn, or a consistent height. Repeating a mistake rapidly makes it familiar. Looking, adjusting, and writing a slower second attempt is more useful cursive writing practice than filling an entire page without checking it.
Basic Cursive Letter Connections
A connection is the exit of one letter becoming the entrance of the next. It is not an extra straight line drawn between two completed printed letters. Start with i and u, keeping the exit stroke light and moving toward the correct starting height. Write iu, ui, and uu, then notice whether the spaces inside the shapes stay open.
Try the word minimum only after you can distinguish the separate humps. Count the letter groups while writing rather than letting the pen wander through an undifferentiated row of bumps. If the word becomes difficult to read, shorten the exercise to in or mi. Small, specific practice gives you a clearer problem to solve.
Letters such as o can leave their connection higher than letters that finish near the baseline. In some handwriting systems, that high exit changes how the following letter begins. Copy a reliable model for the particular pair rather than forcing every join to start at exactly the same point. Connected writing has a rhythm, but the rhythm includes variations.
Pen lifts are allowed where your chosen system needs them. Finish the body of a word, then return for dots and crosses. Separate words with a visible gap, and do not stretch the final exit across that gap. The cursive alphabet chart helps you identify unfamiliar forms before you try to connect them.
How to Write Cursive Letters & Practice Cursive Handwriting
Once the basic movements feel familiar, organize letters into families. Undercurves support i, u, and w; ovals help with a, d, g, and q; tall loops introduce l, h, and related shapes. The families are a practice aid rather than a universal classification. Choose one consistent model so you are not mixing several incompatible joining styles in the same exercise.
Practice Lowercase Cursive Letters First
Lowercase letters appear more often inside ordinary words and share many movements. Begin with i, u, a, and l. Add n and m when you can repeat a small arch without losing the baseline. A tall l should clearly exceed the height of i, while both return to the same lower line. This size contrast makes connected words easier to recognize.
Move from isolated letters to two-letter groups, then short words. Try ill, aim, and line. Each word adds a manageable challenge: repeated tall letters, an oval next to a small stroke, or a change from a tall loop to a short hump. Write one word three times, compare the attempts, and choose one detail to improve.
Keep capitals for a later session. A decorative capital may require a different movement from the lowercase letter that shares its name. It can also connect differently, or remain separate in some styles. Learning a capital L while your lowercase l is still uncertain gives you two unrelated problems at once. Our guide to cursive L shows how to separate them.
Use digital samples thoughtfully. A font may contain ornamental swashes, unusual ligatures, or very thin strokes designed for print. Those features are not required for practical handwriting. In the generator, choose a readable family and inspect the complete word. Then use your handwriting model for the actual pen path, keeping the printed example as a reminder of proportion and spacing.
How to Improve Cursive Writing with Daily Practice
A brief routine helps you learn cursive writing without turning every session into a long worksheet. Start with a minute of relaxed strokes, spend a few minutes on one letter family, and finish with two meaningful words. Writing a friend’s name or a short note gives the movement a purpose. Stop if your hand becomes uncomfortable and reassess your grip and posture.
Make the cursive writing steps visible in your notebook: date the page, write the target pair, and note one observation. You might write “keep the o open” or “give the l more height.” At the next session, reread that note before beginning. The point is to remember the adjustment, not to judge an entire page as good or bad.
Review progress by comparing samples written under similar conditions. Use the same pen, approximate size, and short sentence. Look for readable word spacing, consistent small-letter height, and relaxed joins. Do not use writing speed as the only measure. A clear note written comfortably is more useful than a rushed page that even you struggle to read later.
When the basic rhythm settles, practice real tasks: a greeting on a card, a journal heading, or your name. The name-writing guide can help you choose a visual direction. Keep your own handwriting practical and repeatable; digital lettering can supply the decorative finish when a project needs it.
Your words, beautifully yours.
Try a real name or a favorite phrase. Compare fonts, save a design, or copy actual cursive text.
Open the free generator ↗A few more good reads.
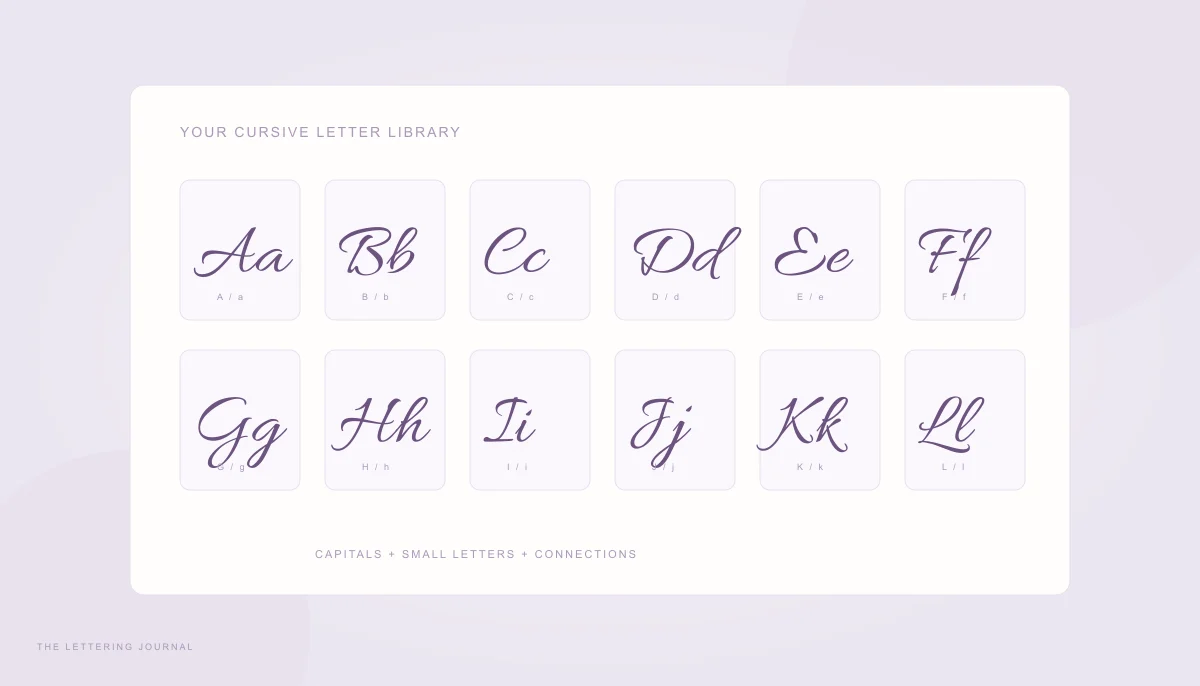
Every letter, beautifully connected
Compare capital and small letters in an accessible A–Z chart, then turn the alphabet into useful practice.
Read the guide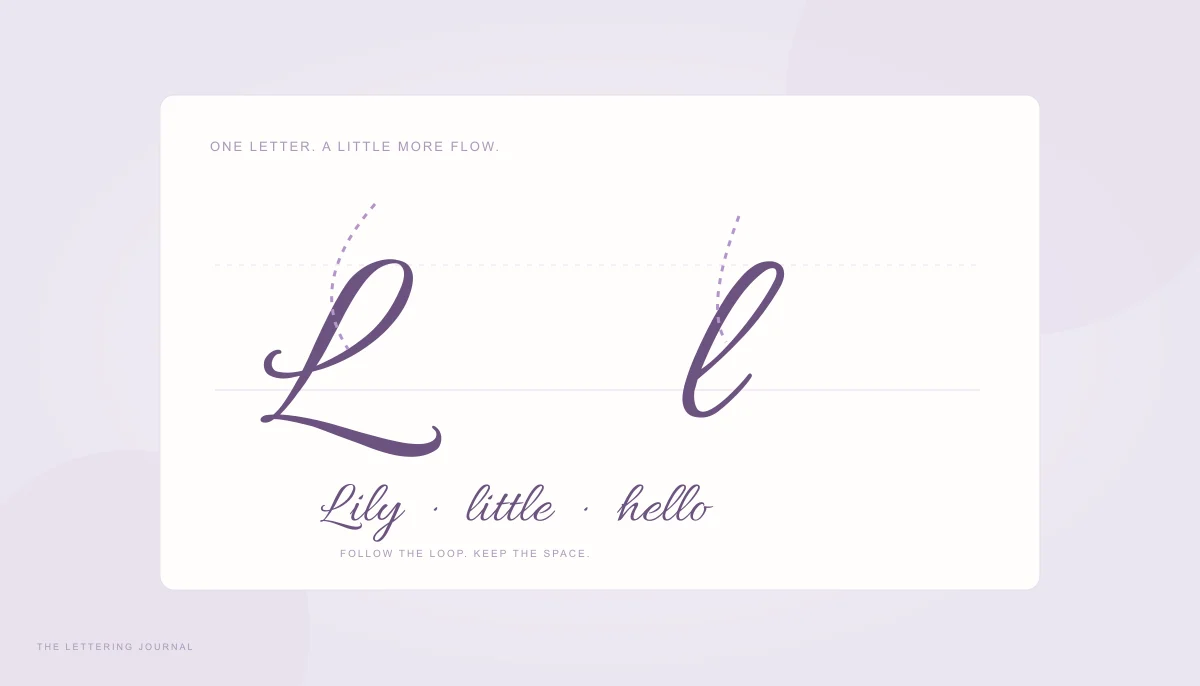
A little love for the letter L
Build a flowing capital and lowercase L with clear stroke directions and everyday connecting words.
Read the guide